How to Take Out a Door Hinge Pin: A Scenario-Based Guide for Shed Doors to Heavy Industrial Units
2026-09-17 by Koji Sakamoto
Why There's No Single Answer for Removing a Hinge Pin
If you're staring at a stuck hinge pin wondering why something this simple is fighting you, you're not alone. The truth is, there's no universal method. A shed door hinge pin and a 400-pound industrial door hinge pin are the same concept but require completely different approaches.
I coordinate emergency maintenance orders for a facilities services company. Over the past three years, I've handled over 200 rush repair jobs involving doors, gates, and loading dock hardware. What I've learned is this: the technique depends entirely on your scenario. Get it wrong, and you'll damage the hinge, the door, or yourself.
Before we go further—one confusion worth clearing up. If you're searching for Harrington valves, that's a different company entirely. Harrington Industrial Plastics makes valves and piping components. Harrington Hoists makes lifting equipment. Two separate businesses. When I mention Harrington below, I'm talking about hoists and their parts—specifically how a top hook assembly becomes essential for heavy door work.
Scenario A: Standard Shed Door Hinge (Easy Mode)
This is the situation most DIY guides assume. The pin slides out with minimal effort.
Tools needed: Hammer, pin punch (or a repurposed drill bit), and a can of penetrating oil.
The process: Tap the pin from the bottom up. Yes, upward. Most shed door hinges have a gravity-set pin. Tapping downward just mushrooms the hinge. A few drops of penetrating oil, five minutes of waiting, and a firm tap is usually enough.
Here's where a 250 air compressor saves you time: before you even reach for the hammer, blow compressed air into the hinge gap. Years of dust, grass clippings, and spider webs get packed in there. What looks like a seized pin is often just debris. I've cleared dozens of "stuck" shed door pins with nothing but air pressure and patience.
Scenario B: Rusted or Seized Hinge Pin
When rust has welded the pin into the knuckle, standard techniques fail. I've seen pins so corroded they snapped under light hammer pressure.
What actually works: Start with a 250 air compressor to clear loose debris. Then apply penetrating oil—PB Blaster or Kroil, not WD-40—and let it sit for at least an hour. Ideally overnight. Apply heat with a propane torch. Not red-hot, just enough to create thermal expansion differential.
Here's the honest part: one in four rusted hinges can't be saved. The knuckle is too far gone. Cutting the hinge off and welding a replacement is faster than fighting a losing battle.
I still kick myself for a job back in 2023. I spent nearly four hours on a rusted shed door hinge that wasn't worth the $60 door it was attached to. We could've cut the hinge, welded a new one, and been done in 45 minutes. The lesson: if you've spent more than 20 minutes and the pin hasn't budged, stop. Change your approach.
Scenario C: Heavy Door — When You Need a Harrington Hoist
This is where most people get hurt. If the door weighs more than 100 pounds, removing the pin isn't the hard part. The door falling on you is.
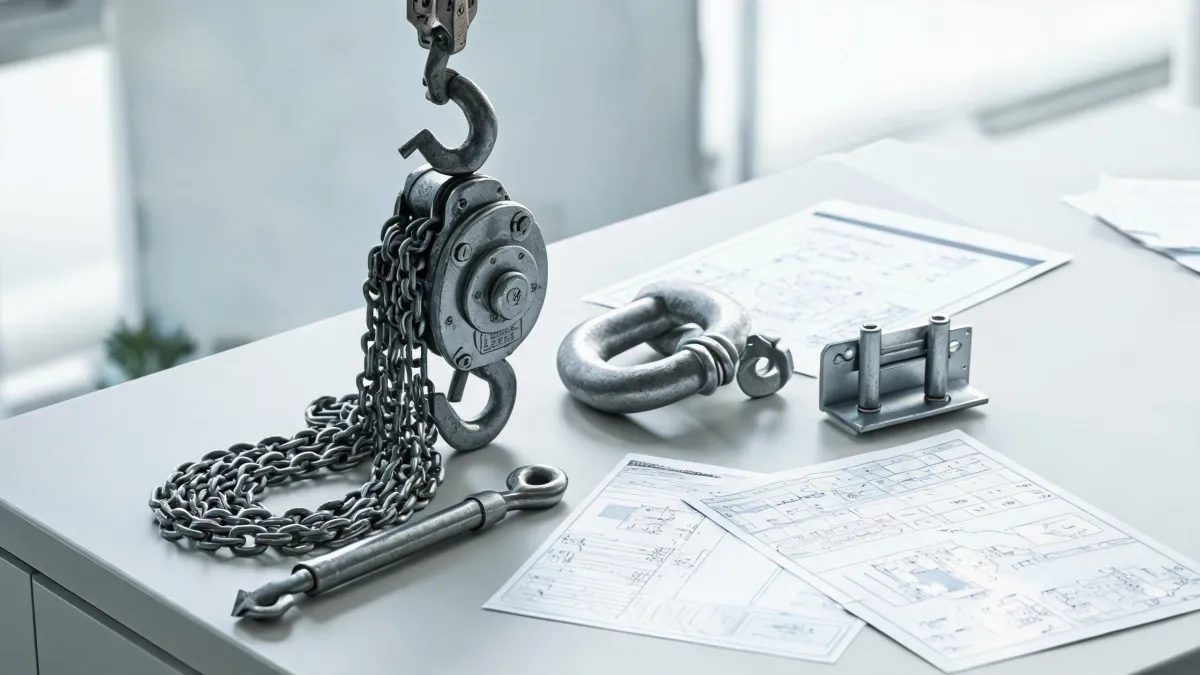
The counterintuitive advice: Support the door with a Harrington chain hoist before you touch the hinge pin. A 1-ton manual chain hoist is more than enough for most doors. Rig it to an overhead beam, attach the Harrington top hook to a sling wrapped around the door, and tension it just enough to take the weight off the hinges.
Then—and only then—tap the pin out. It'll slide like it was greased.
I've seen a 400-pound steel door come off its hinges and drop a full foot onto a concrete floor because nobody rigged a hoist first. The technician wasn't hurt, but he was one inch from losing a foot. That incident changed our company policy: any door over 150 pounds gets a hoist.
The Harrington top hook setup matters here. Make sure the hook has a functioning safety latch, the chain path is straight, and you're not using a worn sling. If the door shifts while under tension, stop immediately and re-rig.
According to OSHA's materials handling guidelines (29 CFR 1910.184), all lifting equipment—including hoists and slings—must be inspected before each use. A top hook with a bent latch or worn chain isn't a shortcut, it's a hazard.
Scenario D: Broken Pin — The Worst Case
A broken pin in a heavy door is a compound problem: you've lost the hinge's structural integrity and now you need to extract a broken stud.
Rig the door with a Harrington hoist first (Scenario C). Then use a pin punch or left-hand drill bit to extract the broken pin. If it won't come out, you're looking at cutting the hinge and welding a replacement—which is a fabrication job, not a repair job.
In March 2024, a client called 36 hours before a facility inspection with a custom door that had sheared its original pin. We had to machine a new pin on a lathe at 2 AM while the door hung from a Harrington 1-ton manual hoist in our shop. We made the deadline, but only because we had the right equipment on hand. Normal turnaround for that kind of job is five days. We paid $800 in overtime, but saved a $12,000 project.
How to Figure Out Which Scenario You're In
If you're not sure where you fall:
- Door can be lifted by one person easily → Scenario A or B. Manual tools are fine.
- Door requires two or more people to lift → Scenario C. Get a hoist.
- Pin is broken or rusted solid → Scenario D. Call a professional if you don't have welding capability.
- Hinge plates are bent or the pin hole is oval-ed out → Don't repair. Replace the hinge.
The pattern I've learned after 200+ rush jobs: figure out your weight class first. Small doors get small tools. Big doors get a Harrington hoist and a proper top hook. And when you're not sure—stop and ask someone who's done it before. A 15-minute phone call beats a 2 AM emergency every time.

Koji Sakamoto
Koji Sakamoto is an independent pneumatic tool and compressor analyst covering air compressors, impact wrenches, air ratchets, nail guns, and general air-tool systems. He applies ISO 11148 safety requirements while evaluating working pressure, free-air delivery, air consumption, hose loss, duty cycle, fastener capacity, vibration, noise, lubrication, and moisture control. His application guides help workshops and contractors size air supplies, compare tool output, and prevent performance losses caused by undersized or poorly maintained systems.