Storm Damage Roof Repair: Which Tool Setup Actually Fits Your Job?
2026-09-21 by Helena Duarte
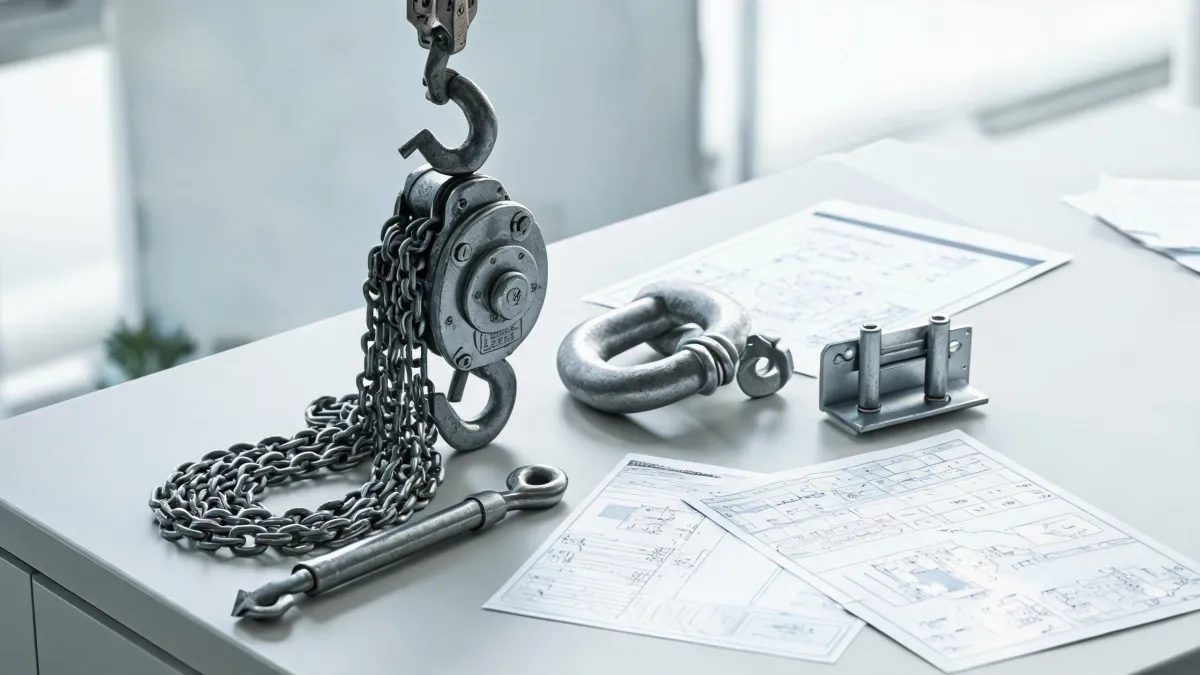
I've been sourcing equipment for storm-response and roof repair crews for nine years. In that time I've documented 11 significant purchasing mistakes. Total damage to our budget: about $19,400, plus one fairly awkward conversation with an insurance adjuster. Here's what nobody told me in 2016 — there's no single right tool list for storm damage roof repair. What worked on a 1,200-square-foot ranch in 2019 is overkill on a shed and laughably insufficient on a two-story commercial building.
So instead of giving you one answer, I'll give you three. At the end, I'll tell you how to figure out which one you're actually in.
Why "one kit for every job" doesn't work
My initial approach was just wrong. I treated "storm damage" as one category. One kit, sent on every job. That meant two problems: I was paying for a 2-ton chain hoist on jobs where a pry bar would've done the work, and I was sending crews out under-equipped on jobs where the roof deck actually had to come up.
The fundamentals of lifting and securing haven't changed — gravity works the same way it did in 2016. What's changed is the tooling. Lighter hoists, better battery-powered tools, and a wider range of compressor sizes in the same footprint. The old assumption "bigger is safer" is now just expensive.
Scenario 1: Debris clearance and temporary sealing
The most common call I used to get. Storm drops limbs on the roof, punches a few holes, and now someone needs to get up there, cut what's on the roof, and tarp what's underneath. No structural weight to lift. No rigging.
What you actually need: a chainsaw that starts on the first pull, a decent tarp, and a way to nail it down. That's it.
Here's where I lost money. I bought a $1,200 industrial air compressor for this scenario because I assumed we'd need pneumatic fasteners. We didn't. A hammer and a box of roofing nails were faster — no hose to drag up a slope, no compressor to run back down and refuel. Honestly, that compressor sat for eleven months before a job actually justified it.
How to tighten a chainsaw chain is where a lot of crews get this wrong, and it costs them bars. The instinct is to crank the chain as tight as it'll go. That's not what the manufacturer spec says. Most manuals call for just enough tension that the chain stays in the bar groove but you can still pull it around by hand with light resistance — roughly 1/8 inch of slack at the middle of the bar. Over-tighten and you'll smell the bar oil cooking. Under-tighten and the chain throws, which on a roof is a different kind of problem entirely. Check your specific saw's manual. Stihl and Husqvarna both publish exact deflection specs, and they aren't identical.
Now the spade question, which I get asked more than you'd expect: is a spade a garden tool? Officially, yes — the category exists in garden and landscaping. Practically, no, at least not always. A trenching spade or a roofing spade is a construction tool in everything but the label. The distinction matters when you're buying. A garden spade from a big-box store won't survive a day of prying up shingles. If your "storm repair" involves prying anything, buy the construction-grade version. Category labels matter less than material and handle construction.
Scenario 2: Structural damage that requires lifting
This is where things get expensive, and this is where I made my worst mistake.
Roof panels, ridge beams, HVAC units, and other heavy components can't be carried up a ladder. You need lifting. For most residential storm repair, that means a Harrington chain hoist in the 1 to 2 ton range — manual or electric depending on how many lifts you're making in a day.
My mistake was sizing by feel. I bought a 2-ton manual hoist because "2 tons is more than 1 ton, so it's more capable." Not wrong, but not right either. A 2-ton hoist is heavier, slower to rig, and has a longer handle throw. On a 40-lift day that adds hours. The rule I finally wrote down: size the hoist to the load plus a 25% safety margin, no more. A 1.5-ton load doesn't need 5 tons of capacity. It needs 2 tons and a load chart check.
I skipped that load chart check once. We were hoisting a ridge section we'd estimated at 800 lbs. The manual hoist was rated for 1 ton. Fine on paper. What I didn't account for was the angle — we were pulling about 30 degrees off vertical, which de-rates effective capacity by roughly 15%. It held. Barely. The handle jumped and one of the chain links deformed. That hoist went out of service. Cost of the lesson: $340 replacement plus a very long debrief with the crew. If you want the standard behind this, ASME B30.16 covers overhead hoists and their inspection — verify the current revision for your jurisdiction.
Here's the harder decision: manual vs. electric. Under five lifts a day, manual is right. Cheaper, lighter, doesn't need power, doesn't fail on a dead battery. Ten or more lifts — or anything above head height you're doing alone — electric earns its keep. I didn't believe this until we ran a job with 22 lifts of shingles on a two-story, and the manual-hoist crew finished four hours after the electric crew did.
If you're buying a Harrington unit or any equivalent, parts availability matters more than people admit. Chain hoists that go out of service waiting for a replacement brake or hook can sit for weeks. Ask about parts support before you buy, not after.
Scenario 3: Multi-day or commercial operations
If the damage is severe enough that you're on site for more than two days, or it's a commercial building, the calculus changes. Now the cost of downtime dominates the cost of tools.
This is where industrial air compressors start to make sense. Not for the reason I first thought. I bought mine for pneumatic nailers. What I should have bought it for is air-powered impact wrenches for rigging and cleanup. A good 60-gallon, 175 PSI, two-stage compressor will run an impact gun and a blow gun all day. A small pancake compressor won't, and you'll burn through two of them before you admit it.
CFM is the number that matters, not tank size or peak PSI. An impact wrench typically wants 4–5 CFM at 90 PSI continuous. A blow gun wants more. If your compressor puts out less than the tool's rated CFM, the tool will underperform and you'll blame the tool.
For lifting in this scenario, you're usually looking at 1 to 5 ton capacity, and electric becomes the default. Manual hoists still belong in the kit as backups, but the primary lifts should be powered. You should also have a formal pre-lift checklist at this point. We didn't have one for the first three years, and that's exactly how the ridge-section incident in Scenario 2 happened.
How to tell which scenario you're actually in
Three questions. Answer them honestly.
- Are you lifting anything over 100 lbs? If no, you're in Scenario 1. Stop there.
- Will you be on site for more than one day? If yes, jump to Scenario 3, even if the scope looks small. Multi-day jobs accumulate tool demands.
- Is the repair structural or cosmetic? Structural means Scenario 2 at minimum. Cosmetic means Scenario 1.
There's a fourth scenario I left out on purpose: the one where you shouldn't be doing this yourself. If the roof structure has shifted, or the ridge line is sagging, or you can't identify what's load-bearing, the correct answer is a licensed contractor and a structural engineer — not a bigger hoist. I learned that one from a client's insurance denial, not from my own mistake, and I'm grateful for that.
Bottom line: match the tool to the actual job. Not the job you expect. Not the job a salesperson described. The one in front of you. I've paid $19,400 to learn that, so you don't have to.

Helena Duarte
Helena Duarte is an independent pipe, valve, and pump applications analyst covering fittings, ball valves, gate valves, check valves, butterfly valves, flanges, hose clamps, centrifugal pumps, sump pumps, and submersible pumps. She uses ISO 5208 pressure-testing concepts and ISO 9906 pump acceptance methods while comparing pressure class, seat leakage, Cv, head, flow, efficiency, solids passage, seal materials, and installation orientation. Her guides help specifiers and maintenance teams match fluid-handling components to service conditions and acceptance criteria.